Peanut Butter Cup Dump Cake
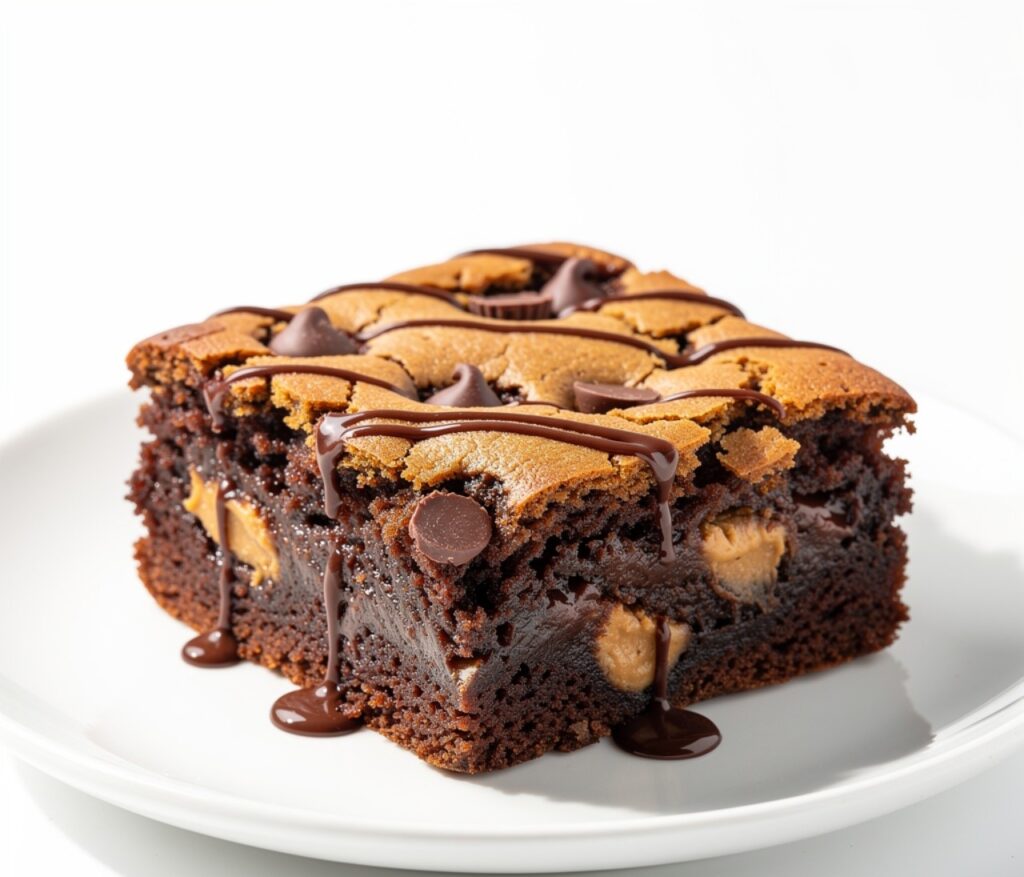
Peanut butter cup dump cake is one of those easy desserts that feels extra comforting with almost no complicated work involved. It combines rich chocolate cake, creamy peanut butter, and melted peanut butter cups into a warm, gooey dessert that tastes incredible straight from the oven. The texture is soft in the center with pockets of melted chocolate and peanut butter throughout every bite. People love it because everything comes together quickly in one baking dish, making cleanup simple and stress-free. I usually make it on busy evenings when I want something sweet without spending too much time in the kitchen. It’s cozy, rich, and perfect for sharing with family or friends.
Why You Will Love This Recipe
This dessert is rich, chocolatey, and packed with creamy peanut butter flavor in every spoonful. Since it’s a dump cake, there’s very little prep work involved, which makes it perfect for busy days or last-minute dessert cravings. The melted peanut butter cups create soft pockets of chocolate throughout the cake while the top becomes slightly crisp and buttery as it bakes. It’s also budget-friendly because it uses simple pantry ingredients and store-bought cake mix. Leftovers warm up beautifully, making it great for enjoying over several days. Peanut butter cup dump cake is especially cozy during colder evenings when you want something warm, sweet, and easy to scoop into bowls straight from the baking dish.
Ingredients
Use mini peanut butter cups for the best melted chocolate pockets throughout the cake.
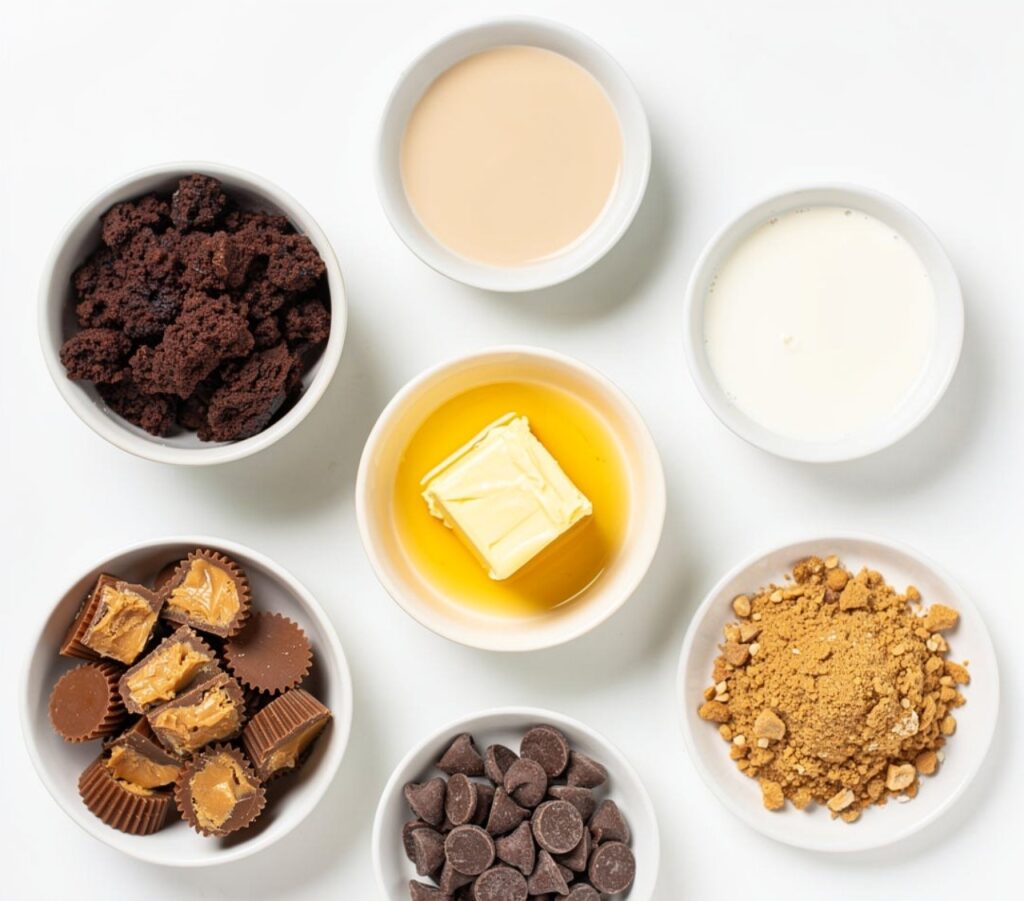
- 1 box chocolate cake mix
- 1 cup creamy peanut butter
- 1 1/2 cups milk
- 1/2 cup melted butter
- 2 cups mini peanut butter cups, chopped
- 1 cup chocolate chips
- 1 teaspoon vanilla extract
- Extra peanut butter cups for topping
Instructions
Step 1: Preparation
Preheat the oven and lightly grease a baking dish. Spread chopped peanut butter cups evenly across the bottom so every serving gets melted chocolate pieces throughout the dessert after baking and scooping later.
Step 2: Main Cooking Process
In a bowl, stir together cake mix, milk, vanilla, and peanut butter until thick and smooth. The batter should look creamy and rich without dry spots remaining before pouring it carefully into the prepared baking dish evenly.
Step 3: Combining Ingredients
Spread the batter gently over the peanut butter cups, then drizzle melted butter across the top. Sprinkle chocolate chips and extra chopped peanut butter cups evenly so the top becomes rich, gooey, and slightly crisp while baking in the oven.
Step 4: Finishing & Final Simmer
Bake until the center looks mostly set and the edges appear deep and bubbly. Let the cake cool slightly before serving so the melted chocolate thickens a little while staying warm, soft, and easy to scoop into bowls comfortably.
Why This Recipe Works for Busy Days
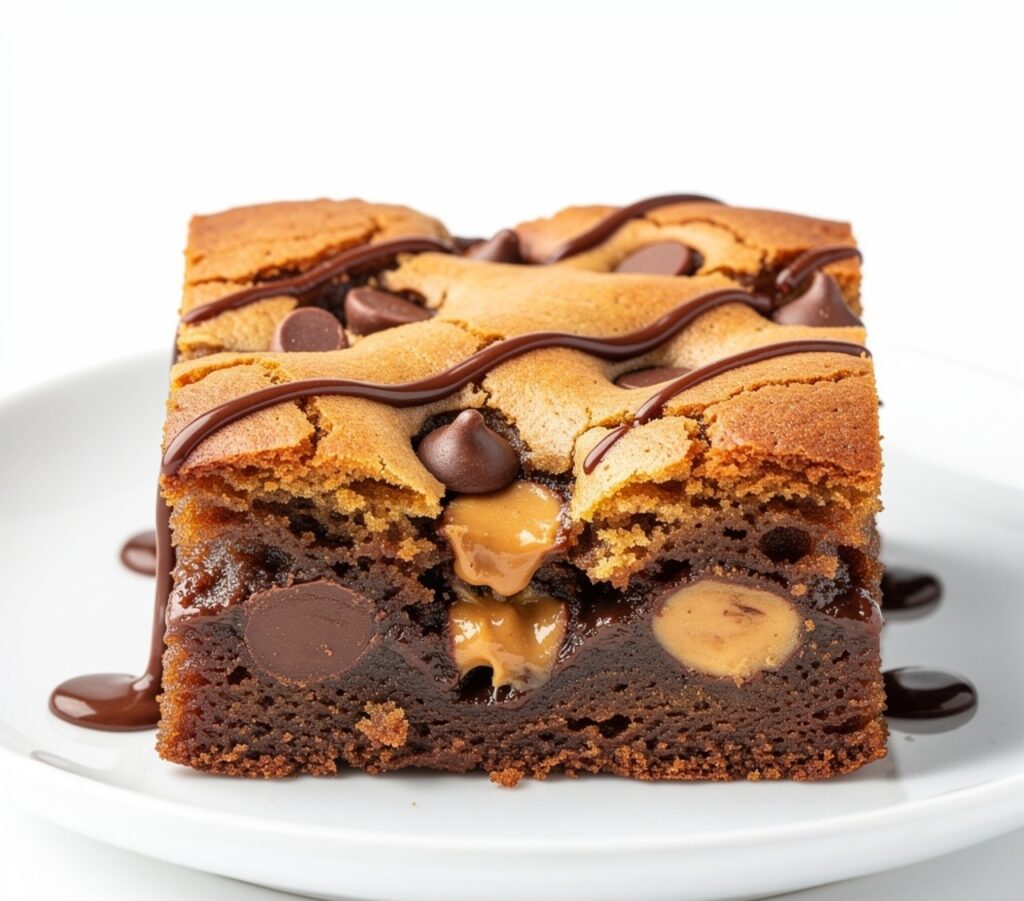
This dessert is perfect for busy schedules because everything comes together quickly with simple pantry ingredients and one baking dish. There’s no complicated layering or frosting involved, which keeps cleanup easy later. You can also prepare it ahead and warm portions whenever you want something sweet after dinner. Since it serves several people at once, it’s great for family nights, gatherings, or weekends when you want a comforting dessert without spending hours baking.
Tips & Tricks
- Chop peanut butter cups into different sizes instead of making every piece identical. Smaller pieces melt into the cake while larger chunks stay slightly gooey, giving the dessert a better texture and more chocolate pockets throughout every serving after baking.
- Avoid overbaking the cake even if the center still looks slightly soft. The dessert continues setting while cooling, and baking too long can dry out the chocolate cake instead of keeping it rich and fudgy underneath the melted toppings.
- Drizzle melted butter evenly across the top before baking. Dry areas of cake mix can stay powdery if the butter is poured only in one section, so spreading it carefully helps create an evenly baked golden top layer.
- Let the cake cool for at least 10 minutes before serving. This short resting time allows the melted chocolate and peanut butter to thicken slightly, making the dessert easier to scoop while still staying warm and creamy inside.
Variations
- Meaty version
For a salty-sweet contrast, crumble a small amount of crispy turkey bacon over the top before serving. The smoky flavor pairs surprisingly well with chocolate and peanut butter while adding a light crunch to the soft warm cake underneath. - Vegetarian option
The recipe already works well as a vegetarian dessert using standard baking ingredients. Just double-check packaged chocolate products if needed, since some candy brands may use ingredients that vary depending on the product type. - Ingredient swap
Swap chocolate cake mix with devil’s food cake mix or peanut butter cake mix for a slightly different flavor. You can also use chunky peanut butter instead of creamy for extra texture throughout the baked dessert. - Flavor or herb boost
Add a small pinch of cinnamon or espresso powder to the batter for deeper flavor. Both additions make the chocolate taste richer without overpowering the peanut butter or changing the cozy dessert feel.
Serving Suggestions
- Vanilla Ice Cream
Serve warm scoops of the cake with vanilla ice cream on top. The cold creamy ice cream melts slowly into the warm chocolate cake, creating a rich dessert combination that feels extra comforting during colder evenings or family movie nights. - Coffee Pairing
Enjoy a slice with hot coffee or espresso after dinner. The slight bitterness balances the sweetness of the cake and makes the peanut butter and chocolate flavors feel even richer and smoother together. - Family Dessert Bowls
Scoop the warm cake into small bowls and top with whipped cream and chopped peanut butter cups. This casual serving style feels cozy and relaxed, perfect for sharing at family gatherings or weekend dessert nights. - Chocolate Drizzle Finish
Drizzle melted chocolate or warm peanut butter over each serving before eating. It adds extra richness and makes the dessert look even more inviting without requiring any complicated decorating steps.
Storage Instructions
- Fridge Storage
Store leftover dump cake covered tightly in the refrigerator for up to 4 days. Keeping it sealed helps prevent the cake from drying out while maintaining the soft gooey texture inside each serving after reheating later. - Reheating
Warm individual portions in the microwave for about 20–30 seconds before serving. This helps soften the chocolate and peanut butter again so the dessert tastes freshly baked and warm without becoming dry or overcooked. - Freezing
Freeze cooled portions in airtight containers for up to 1 month. Thaw overnight in the refrigerator and warm slightly before serving to restore the soft texture and melted chocolate flavor as closely as possible. - Make-Ahead Tips
Assemble the dessert earlier in the day and refrigerate before baking if needed. When ready to serve, bake fresh so the chocolate stays gooey and the top remains warm and slightly crisp straight from the oven.
Recipe Timing
Prep Time: 15 minutes
Cook Time: 40 minutes
Rest Time: 10 minutes
Total Time: About 1 hour 5 minutes
Nutrition Information (Approximate)
Each serving contains around 420–520 calories depending on portion size and ingredient brands used. Protein ranges from 6–9 grams per serving due to the peanut butter and chocolate ingredients. This dessert also provides small amounts of calcium and iron. Nutrition values are estimates and may vary depending on substitutions and serving sizes.
FAQs
Can I make peanut butter cup dump cake ahead of time?
Yes, you can prepare it ahead and reheat portions later before serving.
What is the most common mistake with dump cakes?
Overbaking can dry out the cake and reduce the gooey texture inside.
Can I use crunchy peanut butter instead of creamy?
Yes, crunchy peanut butter adds extra texture and works very well in this recipe.
Why is my dump cake still soft in the center?
A slightly soft center is normal because the dessert continues setting while cooling.
How should I store leftovers?
Store leftovers covered in the refrigerator for up to 4 days for best freshness.
Can I make the dessert less sweet?
Yes, you can reduce chocolate chips or use dark chocolate peanut butter cups instead.
Conclusion
Peanut butter cup dump cake is the kind of dessert that feels comforting, rich, and easy enough for any night of the week. The warm chocolate cake, melted peanut butter cups, and gooey texture make every bite feel soft and satisfying without requiring complicated baking steps. It’s perfect for family movie nights, casual gatherings, or evenings when you simply want something sweet and warm from the oven. You can customize the toppings, chocolate, or peanut butter flavors depending on what you already have at home. Once served warm with ice cream or whipped cream, it quickly becomes a dessert people ask for again and again.
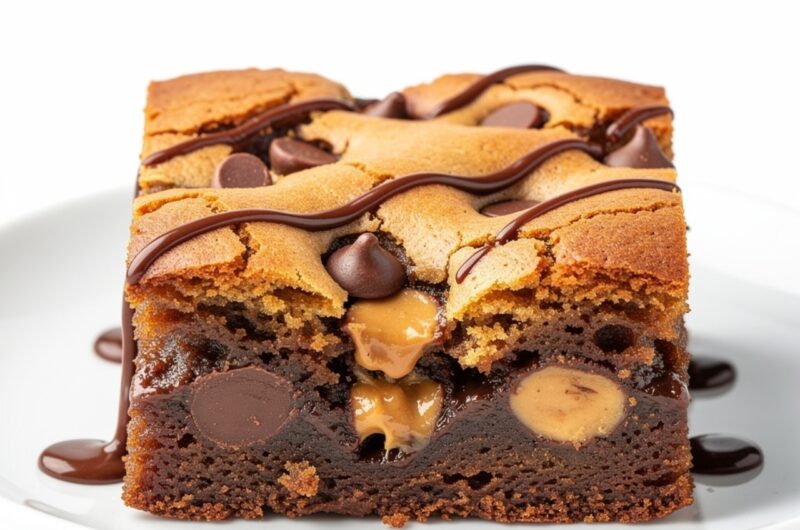
Peanut Butter Cup Dump Cake
Course: Desserts Recipes15
servings15
minutes40
minutes520
kcalA warm chocolate dump cake filled with melted peanut butter cups and rich chocolate flavor. Soft, gooey, and easy to make with simple ingredients in one baking dish.
Ingredients
1 box chocolate cake mix
1 cup creamy peanut butter
1 1/2 cups milk
1/2 cup melted butter
2 cups mini peanut butter cups, chopped
1 cup chocolate chips
1 teaspoon vanilla extract
Extra peanut butter cups for topping
Directions
- Preheat oven and grease a baking dish lightly.
- Spread chopped peanut butter cups across the bottom of the dish.
- Mix cake mix, milk, peanut butter, and vanilla until smooth.
- Pour batter into the dish evenly over the candy pieces.
- Drizzle melted butter over the top and sprinkle chocolate chips.
- Bake until edges are bubbly and center is mostly set.
- Cool slightly before serving warm.